Understanding Aerodynamics: Downforce vs. Drag Balance
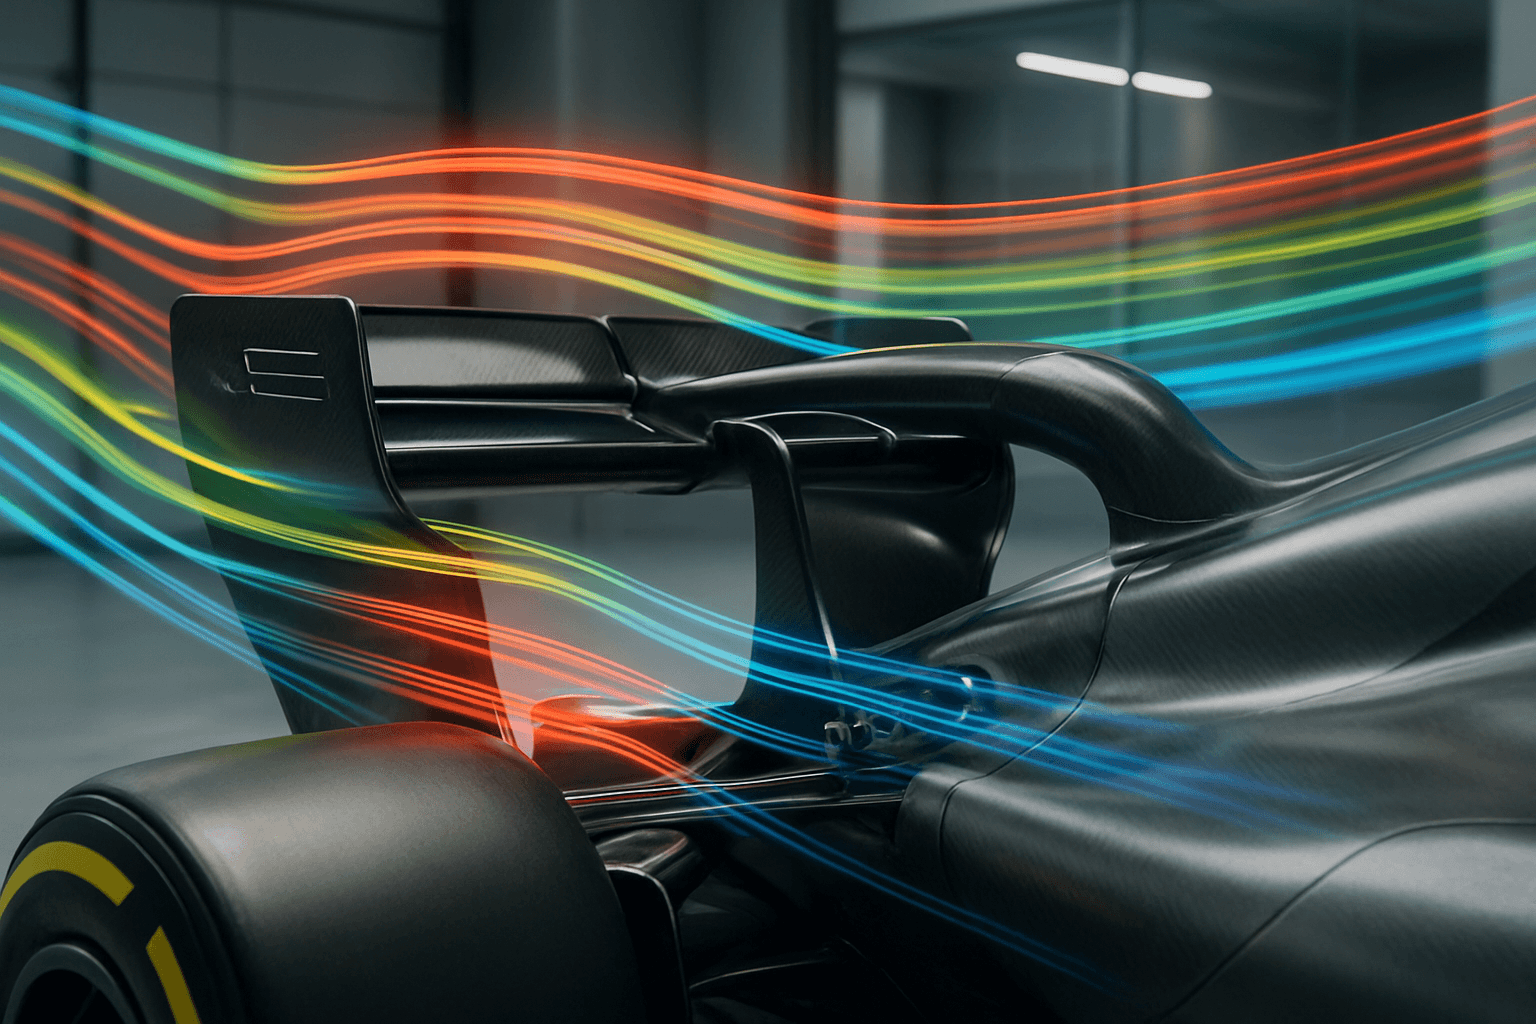
Mastering Aerodynamics: Downforce vs. Drag Balance for Australian Racing
Aerodynamics is the silent force shaping racing performance, especially on Australia's diverse tracks. From the high-speed straights of Bathurst to the technical corners of Albert Park, finding the perfect balance between downforce and drag is crucial. This guide breaks down the science of aero setups, offering practical insights for Supercars, GT, and other Australian racing series.
The Downforce-Drag Trade-Off Explained
Downforce increases grip, improving cornering and braking, but it comes at the cost of increased drag, which reduces straight-line speed. Here’s how the trade-off works:
- Downforce Increase: Adding
50 kgof downforce typically increases drag by10-15%, reducing top speed by3-5 km/h. - Drag Reduction: Reducing drag by
10%can increase top speed by5-7 km/h, but decreases downforce by30-40 kg.
Example: In Supercars, increasing the rear wing angle from 0.5 degrees to 1.5 degrees at Bathurst adds 80 kg of downforce but increases drag by 12%, costing 4 km/h on Conrod Straight.
Wing Angle Adjustments: Tuning the Balance
Wing angles are the most accessible way to adjust downforce and drag:
- Rear Wing: Increasing the angle by
1 degreeadds20-30 kgof downforce but increases drag by3-5%. - Front Wing: Increasing the angle by
1 degreeadds10-15 kgof downforce with minimal drag increase.
Example: At Albert Park, GT teams often run a rear wing at 2.5 degrees for maximum downforce in tight corners, while at Bathurst, they reduce it to 0.5 degrees for higher top speeds.
Ground Effect: Harnessing Underbody Aerodynamics
Ground effect uses the underbody to generate downforce with minimal drag. Key elements include:
- Venturi Tunnels: Deeper tunnels increase downforce but risk airflow separation if too aggressive.
- Skirts and Seals: Improve airflow consistency, adding
50-100 kgof downforce with only5%drag increase.
Example: In Supercars, teams use ground effect to generate up to 40% of total downforce, significantly improving corner speeds at tracks like The Bend Motorsport Park.
Track-Specific Aero Packages: Tailoring for Australian Circuits
Different tracks require unique aero setups:
- High-Speed Tracks (Bathurst): Prioritize drag reduction. Use
0-1 degreerear wing angles and minimal front wing angles. - Technical Tracks (Albert Park): Prioritize downforce. Use
2-3 degreesrear wing angles and aggressive front wings.
Example: At Bathurst, Supercars run a "low-downforce" package with a rear wing at 0.5 degrees, while at Albert Park, they increase it to 2.5 degrees for better cornering.
CFD Data Interpretation: Unlocking Airflow Secrets
Computational Fluid Dynamics (CFD) helps analyze airflow around the car:
- Pressure Maps: Highlight areas of high and low pressure, indicating downforce and drag distribution.
- Velocity Profiles: Show airflow speed, helping identify turbulence and separation.
Example: CFD analysis for a GT car revealed that adding a 5 mm Gurney flap to the rear wing increased downforce by 40 kg with only 2% drag increase.
Wind Tunnel vs. Real-World Results: Bridging the Gap
Wind tunnel testing provides precise data but may not fully replicate real-world conditions:
- Wind Tunnel: Offers controlled measurements of downforce and drag at various speeds and angles.
- Real-World: Factors like track surface, temperature, and turbulence affect performance.
Example: A Supercar team’s wind tunnel test showed a 100 kg downforce gain, but on track at Sydney Motorsport Park, the actual gain was 80 kg due to real-world variables.
Cost-Effective Aero Modifications: Maximizing Bang for Buck
Budget-friendly aero improvements include:
- Gurney Flaps: Adding a
5-10 mmGurney flap to the rear wing increases downforce by30-50 kgwith minimal drag. - Canards: Small front canards improve front-end grip, adding
10-20 kgof downforce. - Diffuser Fences: Vertical fences in the diffuser improve airflow, adding
20-30 kgof downforce.
Example: A Modified Sedan team added a 7 mm Gurney flap, improving lap times by 0.3 seconds at Queensland Raceway without significant drag increase.
Measurement Techniques and Tools: Precision is Key
Accurate measurement ensures effective aero setup:
- Pressure Sensors: Measure downforce and drag at various points on the car.
- Laser Scanners: Capture body alignment and wing angles with
±0.1 mmaccuracy. - GPS and Accelerometers: Correlate speed, g-forces, and aero performance.
Example: A Supercars team used laser scanners to detect a 1-degree misalignment in the rear wing, costing 20 kg of downforce at Bathurst.
Actionable Takeaways for Australian Racers
- Start with Small Adjustments: Change wing angles in
0.5-degreeincrements and measure the impact. - Monitor Tire Temperatures: Downforce changes affect tire temps—ensure they stay within optimal ranges (
80-100°Cfor slicks). - Test on Track: Wind tunnel and CFD data are valuable, but real-world testing is essential for validation.
- Consider Track Conditions: Adjust setups based on track temperature, surface, and layout.
Conclusion
Mastering aerodynamics is about finding the perfect downforce-drag balance for your car and track. Whether you're racing in Supercars, GT, or Modified Sedans, understanding these principles will give you a competitive edge on Australian circuits. Start with small changes, measure carefully, and iterate your way to victory.
"Aerodynamics isn’t just about speed—it’s about control, precision, and winning races."
Ready to refine your aero setup? The track is waiting!
Tags
Related Articles
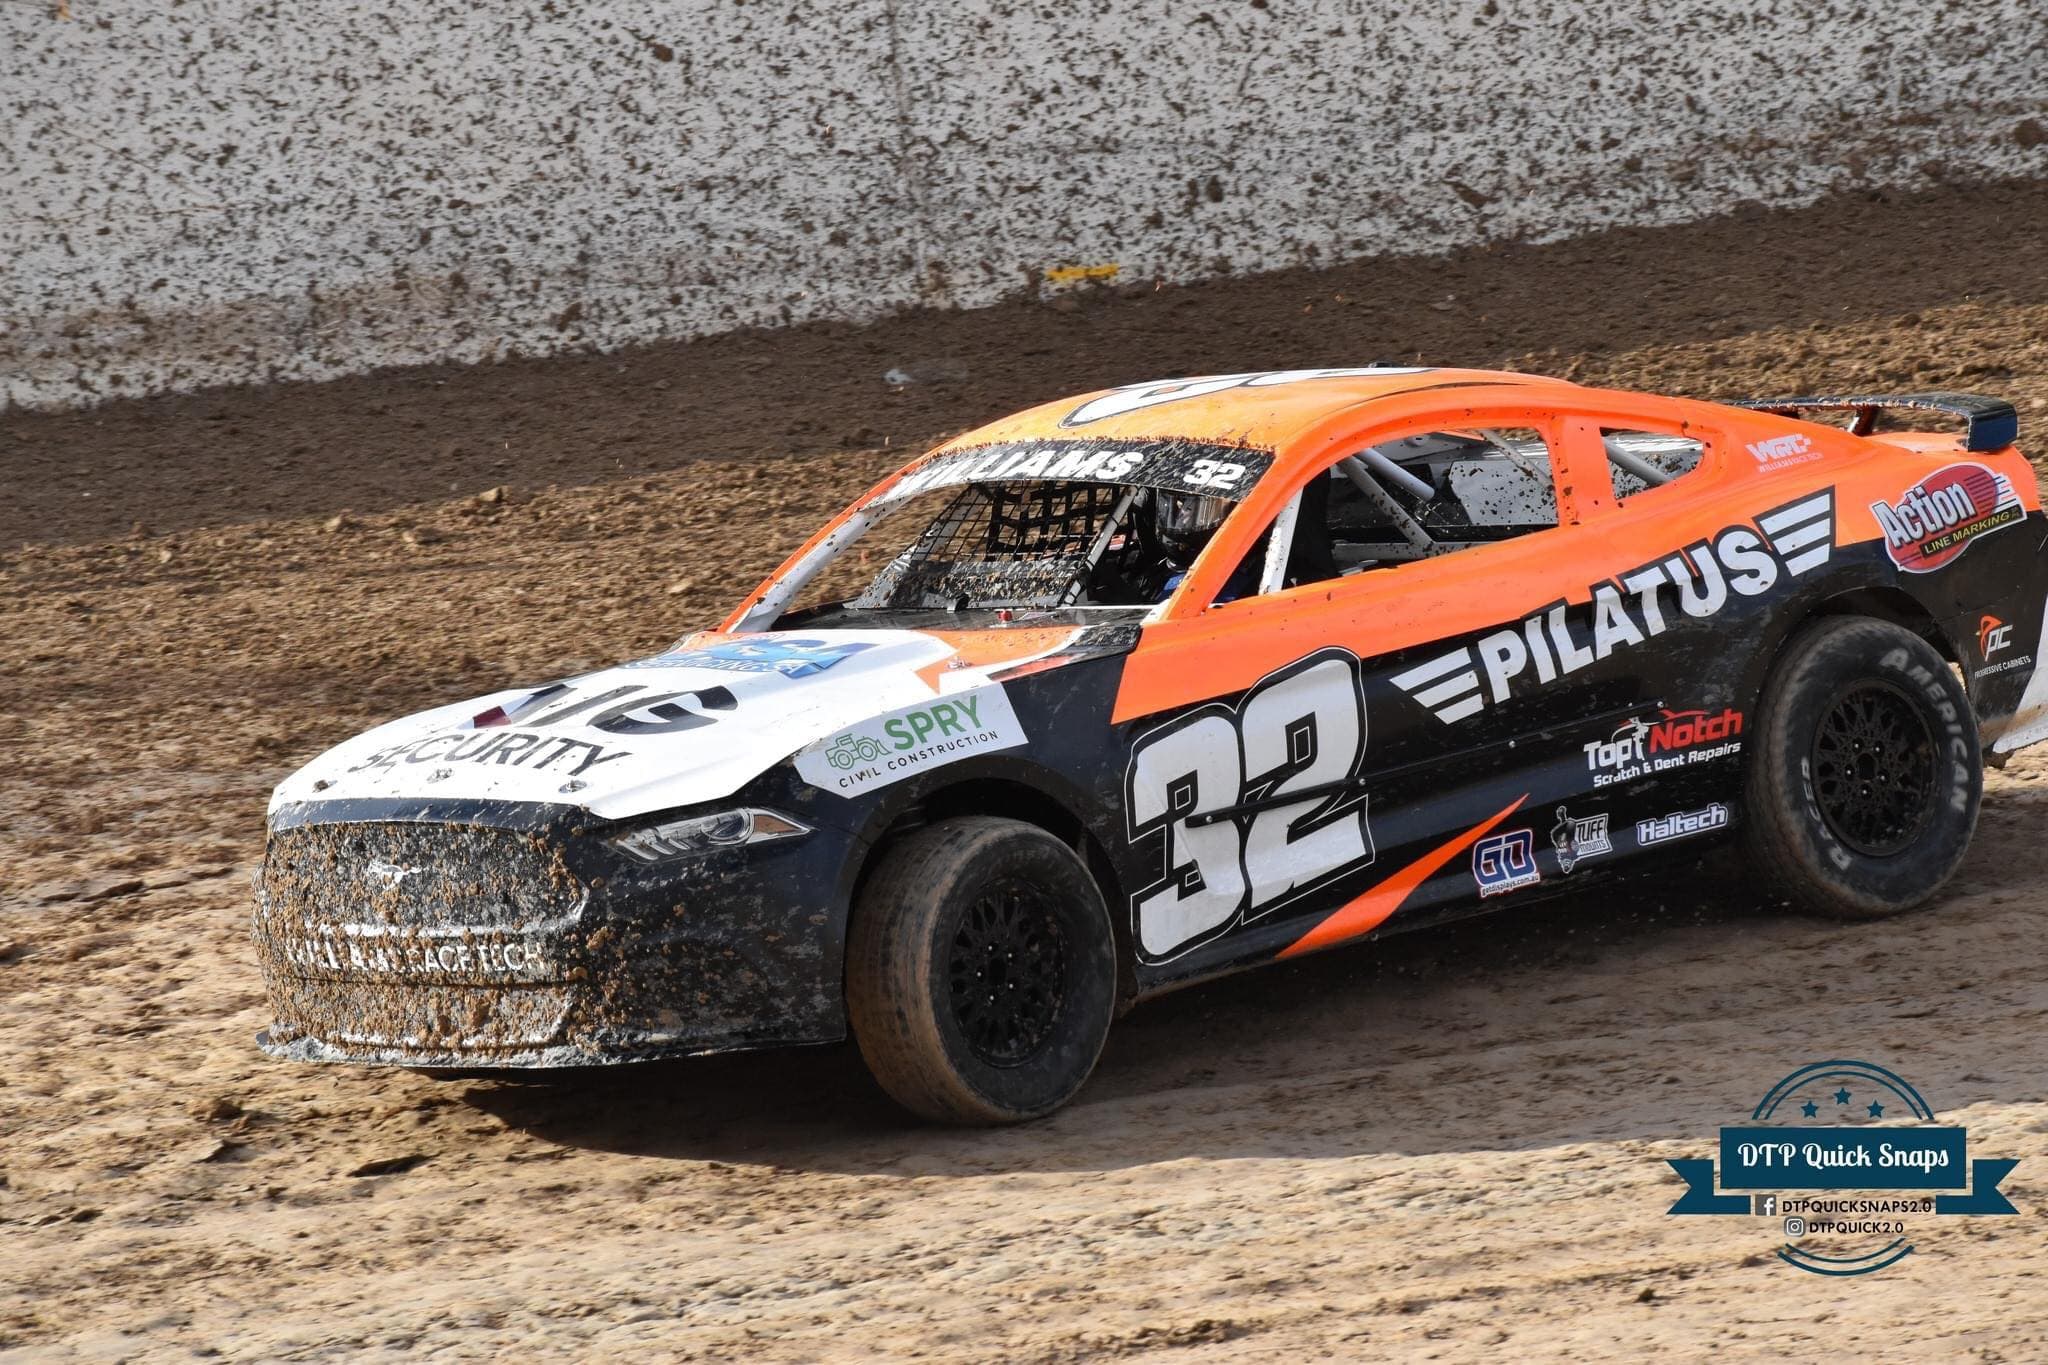
From Dirt Track Disaster to A-Main Glory
When Brett Williams' Ford Mustang went from pushing through every corner at Murray Bridge Speedway to qualifying for A-Main events in just one season, it proved that systematic setup methodology can transform any Modified Sedan from backmarker to contender without spending a single dollar on horsepower.
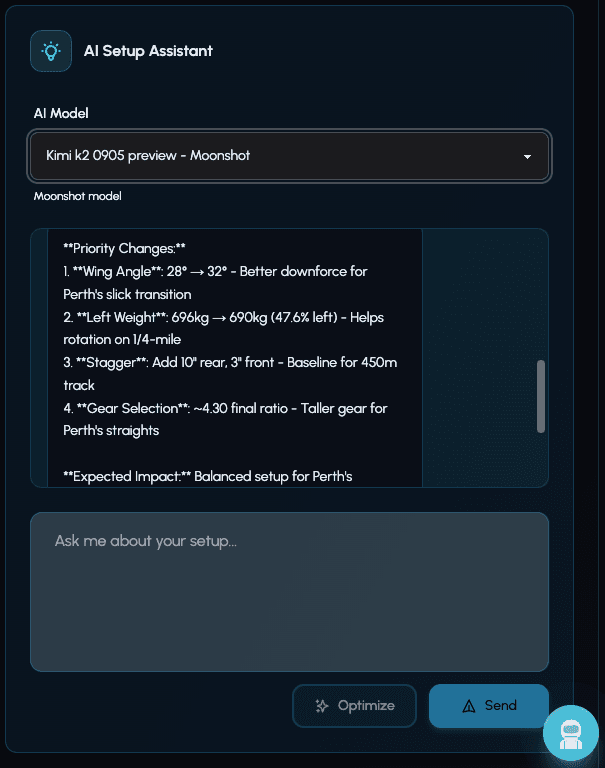
AI Setup Assistant: Expert Racing Knowledge at Your Fingertips
Discover how Setup Genius AI provides class-specific, track-specific setup recommendations for sprint cars, GT cars, touring cars, and karts across Australian venues.